 Posted on
by
Posted on
by  12 Comments
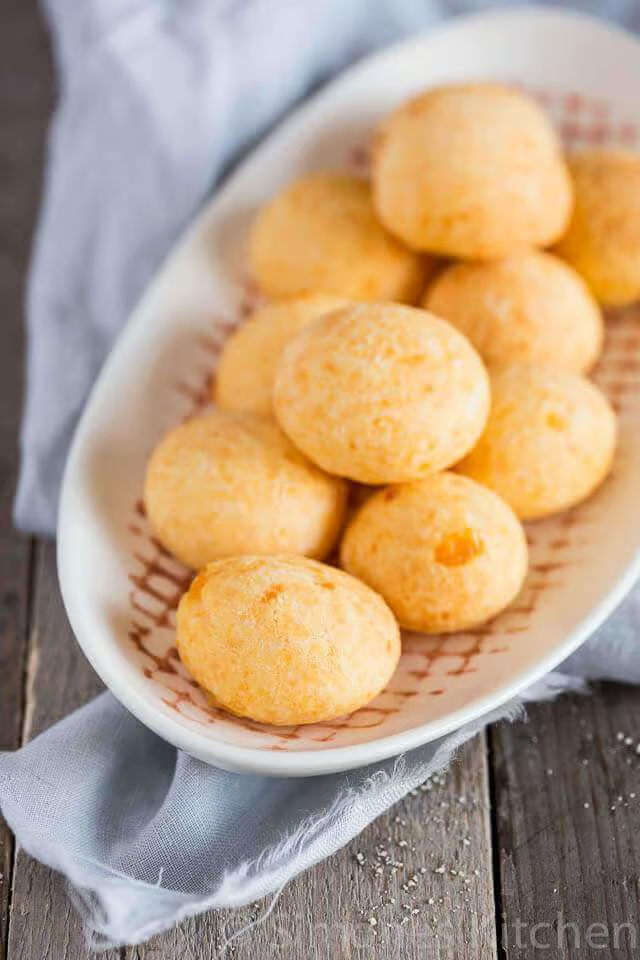
 These delicious little Brazilian cheese bread of cheesy puffs (pão de queijo) are not too complicated to make. I made these initially for the Daring Bakers all the way back in 2014. They’re so tasty and if you love cheese, you will want to try these little beauties.
Table of contents
Why You’ll Want To Make This Recipe
They’re cheesy, so what more is there to want? They can also be filled which would make them even tastier. This pão de queijo recipe is pretty basic but can easily be adjusted to your liking. The original recipe comes from Renata of Testado, Provado and Aprovado. She hosted the Daring Bakers Challenge at the time. These would be delicious with a Brazilian cocktail such as caipirinha.
Recipe Ingredients
- Tapioca starch – you can also use tapioca flour for making these
- Grated cheese – use your different cheeses. I went with a sharp cheddar as that was what I had on hand. Not sure if Parmesan cheese would be a good fit as I think for best results you might want to stick with a cheese that melts better.
- Milk – make sure you use full fat milk.
- Egg – I changed the original quantities a lot as otherwise I would have had a total of something like 80 cheese balls.
I’ve seen people use a mini muffin tin for making these but I rolled them into balls and placed them on a baking sheet. That worked fine for me, but I can see why it would be easier to use the muffin tin. You can also make the batter in a blender, and in that case, the mixture will be a bit wetter. Making it even more important to use a muffin tin.
How To Make Pão de Queijo
Making this Brazilian cheese bread recipe is pretty straightforward and not complicated at all. That said I did make quite a big mistake the first time I made them. The original recipe said something like 750 milliliter of cheese and I mistakenly read 750 grams of cheese. It should have been 250 grams, so you can probably imagine how that went completely wrong. So I had to remake them with the right amount of cheese.
Step 1: Heat milk and butter
The first step is to heat the milk and butter with a bit of salt in a small sauce pan. Keep in mind that the cheese you’re using might be salty as well so make sure not to use too much salt.
Step 2: Sift the tapioca
Add the warm milk to the tapioca and keep stirring it with a fork. It will be lumpy and not smooth but that’s how it is supposed to be.
Step 3: Add the grated cheese
Add your cheese and mix it with your hands. Add the egg (make sure the egg is at room temperature) and mix it until it comes together and forms a smooth and pliable dough. You don’t need to knead it for very long. It’s ok if the dough is still slightly sticky.
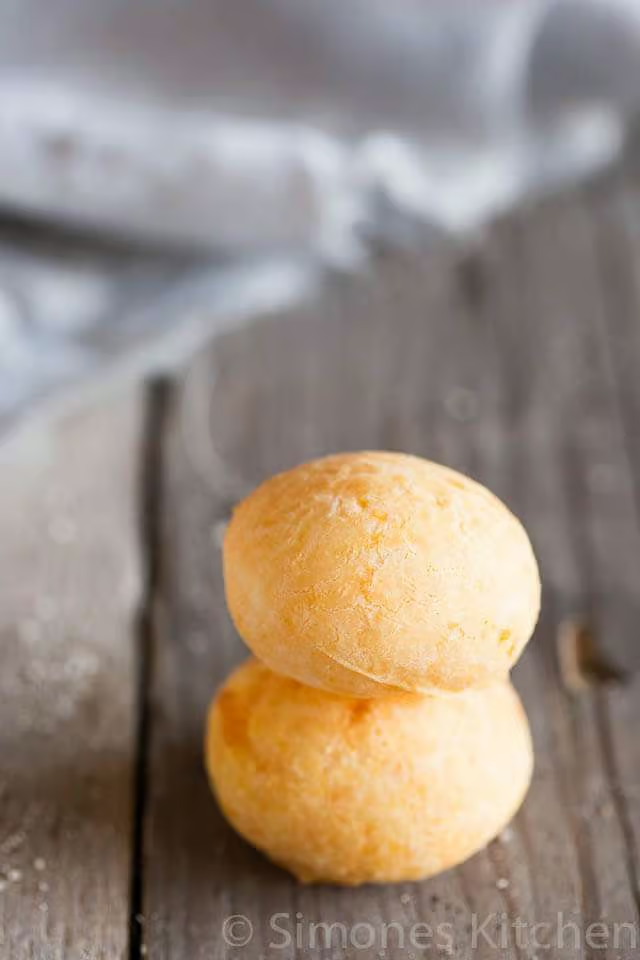
Form balls of the pao de queijo and place them on a baking sheet or use a mini muffin tin. You can vary them in size. I like to keep them roughly the size of half a ping pong balls.
Place them in the preheated oven and bake for 20-25 minutes until the bottom is just starting to turn golden brown. Don’t overbake them!

FAQ Pão de Queijo
No – tapioca flour (or starch) is essential. It gives pão de queijo its signature chewy texture. All-purpose flour will result in a completely different consistency.
Traditionally: Minas cheese (Queijo Minas).
Alternatives: Parmesan, mozzarella, or a mix of cheeses for added flavor. A sharp cheese adds more depth, while mozzarella makes it gooier.
The dough is naturally a bit sticky, especially when hot. Let it cool slightly before shaping, or lightly oil your hands. If it’s too wet, add a bit more tapioca flour.
Yes, baked pão de queijo can be frozen and reheated in the oven or toaster oven. They’re best enjoyed fresh, but freezing works well.
More Daring Bakers recipes
Over the years I’ve made quite a few Daring Baker recipes. A small selection below:
Brazilian Cheese Bread (Pão de Queijo)
Ingredients
- 125 gr tapioca starch
- 65 ml full fat milk
- 10 gr butter
- 1/4 tsp salt (or more depending on the saltiness of your cheese0
- 60 gr Monterey Jack Cheese or another cheese of your liking, coursely grated
- 1 egg
Instructions
- Heat milk, butter, and salt in a small sauce pan until it comes to a boil. Watch closely as it may boil over. Remove from heat and set aside.65 ml full fat milk, 10 gr butter, 1/4 tsp salt
- Sift tapioca starch into a large bowl.125 gr tapioca starch
- Pour the boiled (hot) mixture over the tapioca and start stirring with a fork. The milk mixture will not be enough to form a dough yet. You will have a lumpy mixture, that’s what it is supposed to be.
- Keep stirring with the fork, breaking down the lumps as much as you can, until the mixture cools down to warm.
- At this point, preheat your oven to moderately hot 400° F/200° C/gs mark 6
- Add the grated cheese to the tapioca mixture and mix well, now using your hands.60 gr Monterey Jack Cheese
- Add the egg, mix with your hands until the dough comes together. I suggest you lightly beat the egg with a fork and add little bits until the dough comes together into a soft but pliable dough. You only have to knead it a bit, not as much as you would knead a yeasted bread. It's OK if it is slightly sticky.1 egg
- Form balls with the dough and place them on a baking sheet lined with parchment paper or silicon mat or lightly greased with vegetable oil. If necessary, you can oil your hands to make shaping easier. The size of the balls may vary from small bite-sized balls to the size of ping pong balls. They will puff up quite a bit after baking.
- Bake for about 25 minutes or until they just start to brown on the bottom. You may have golden spots of cheese on the crust. Don’t over-bake as they will get hard and bitter.
Nutrition Information per portion:
Disclaimer:
The nutritional values above are calculated per portion. The details are based on standard nutritional tables and do not constitute a professional nutritional advice.


PS the ones we had contained a completely unknown cheese to us – something whitish-caramel coloured, and perhaps even concentrated evaporated milk! There was a definite sweetness although you wouldn’t have said they were actually sweet.
What a timely find! I had these on a visit to Tampa Florida (from a Spanish language-only shop/cafe), or a very near Cuban approximation, and wondered what they were and how they were made. These read like the buns we ate tasted! Pinning and making as soon as possible. Thanks for posting this.
Those cheese puffs look wonderful, so light and airy! Cooking/baking clubs are fun I wish I had more time to put into it.
Me too actually. I never have enough time to do all the things I want to do!
Yeah, I sometimes read recipes too fast and mess up like that too. Bummer when that happens. Anyway, these look terrific! Good stuff. Thanks.
Well, reading the wrong amount of an ingredient in a recipe happenned to me quite a few times, too! Usually pão de queijo is forgiving for more or less cheese, but guess the triple was too much to it to handle, sorry to hear about that. Anyway, your second attempt looks gorgeous, the cheddar gave it a bright orange color! Thanks for joining the challenge!
Yes I think I did go way overboard in this case with the cheese! Lol.. But it was a fun challenge so thanks for that Renata!
It happened to me recently, I read too fast the recipe but it turned out to be good. These look amazing!
I’m sure we’ve all had those moments.. 😉
Hi Simone,
Ze lijken heel erg op deze Braziliaanse kaaspufs
Maar dit was meer beslag, maak je in de blender en worden dan soort soesjes
Wel meteen opeten, want van bewaren worden ze niet lekkerder.
En pittige kaas gebruiken
http://www.onegoodthingbyjillee.com/2014/02/brazilian-cheese-rolls-gluten-free-a-blendtec-giveaway.html?utm_source=getresponse&utm_medium=email&utm_campaign=onegoodthing&utm_content=%5B%5Brssitem_title%5D%5D
Volgens mij zijn deze exact hetzelfde.. 😉
I’m glad I’m not the only one guilty of skimming and assuming. 🙂 These buns look delightful!